In this course we will be giving an introduction to Rhino 3D. This is a great and easy tutorial for Rhino beginners, and can serve as a crash course into 3D modelling in Rhino.
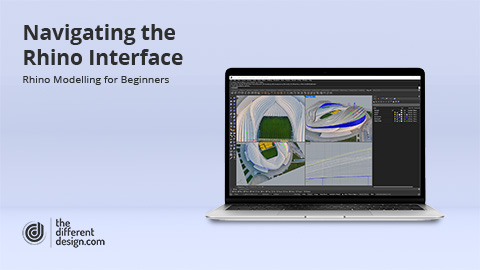
We will give an overview of what Rhino 3D is, how to navigate the Rhino interface, how to use viewport display modes and navigation controls to help you view and use your model, the different geometry types available in Rhino, tools that allow the transformation and manipulation of these geometries, layer control, Rhino Commands, what they are and how to use them to design 3D objects, and we will finish off with a precedent exercise, where we will use what we have learned in the course to create a 3D model of architect Bjarke Ingel’s Serpentine Pavilion in Rhino
Rhino is known as a ‘command-based’ modelling software, and the Command Bar is probably the most important feature in Rhino. This lesson explains how to use commands inside of Rhino.
In Rhino, there are a number of different geometry types we can use to create 3D models. This lesson will explore a collection of the main geometry types we typically use in the software.
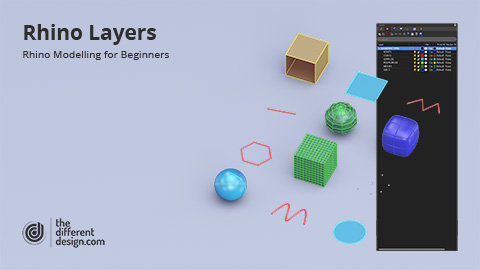
Like many other programs, Rhino has a layer management system that is critical to organising your documents workflow. This lesson will examine how to use and customize our layers to organise our model geometry.
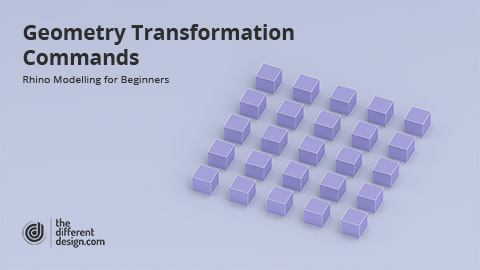
After creating our geometry, we have a number of transformation tools that can allow us to manipulate it further. This lesson will examine the move, rotate, copy, scale, orient and array commands.
The Rhino gumball is a widget we can use to make geometry transformation faster and easier. This lesson will take an in-depth look at the Rhino gumball, and look at how we can use it to speed up our modelling.
There are a number of ways we can gain greater accuracy over our transformation tools in Rhino with guides and geometry snapping. This lesson will examine how to use these tools to make modelling easier and more accurate.
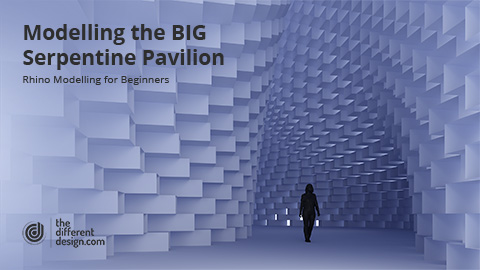
This lesson will apply the fundamentals we have covered in the course so for to a 3D modelling exercise of architect Bjarke Ingel’s Serpentine Pavilion in London. The pavilion consists of a stacked collection of extruded fiberglass frames. When viewed from different angles, the pavilion can appear transparent or solid, and this play of opacity and transparency is intended to provoke a reconsideration of how we perceive space and form.
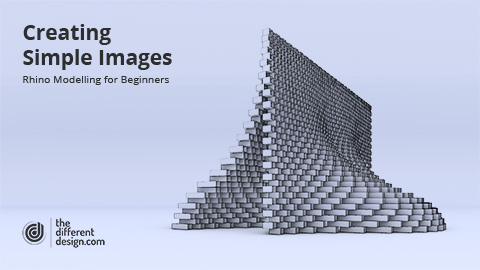
In Rhino, we can create quick presentation images with some of the default viewport settings. This lesson will explore using the Rhino Sun in the Rendered viewport mode, and exporting images at high-resolution outputs for presentations.
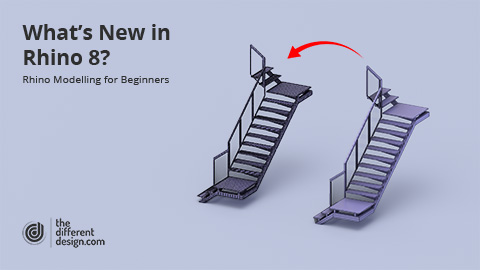
Rhino 8 comes with a collection of new and exciting features to extend the capabilities of our 3D modelling in Rhino. We will examine some of the key new updates to the software in the most recent release.
What are the learning objectives for the course?
Understand how to navigate the Rhino interface and viewports
Understand how to use Rhino commands
Understand the main geometry types that exist in Rhino
Learn different methods to transform geometry and model accurately
Apply knowledge to an architectural modelling task