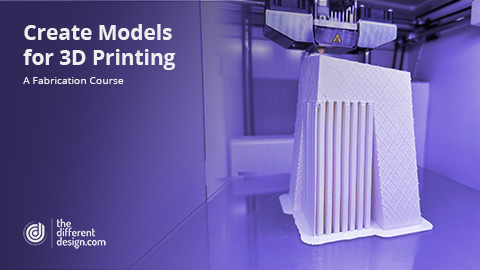
This course will provide you with a series of tools and tips for preparing files for 3D printing in Rhino. We will explain the basics of 3D printing, and how to take a design model from Rhino and evaluate its suitability for 3D printing, before making adjustments to export a file we can then use.
3D printing is a manufacturing workflow that is used to assist in the translation of digital 3D CAD models into real life physical representations. This lesson will examine different types of 3D printing, their applications and common use cases.
This course will prepare a 3D model for 3D printing using OMA’s CCTV tower in Beijing. This lesson will examine what needs to be assessed prior to preparing this model for 3D printing in a slicing software.
One major thing to check in your 3D print file before sending it to the 3D printer is assessing your model for something called draft angles. This lesson will explain what draft angles are, and what to look out for in your 3D models.
When 3D printing, it’s important to consider the scale of the detail you’re trying to produce in your model. This lesson will explain how to assess the level of detail against the resolution of your 3D printer.
In many instances when 3D printing, you may need to create a hollowed-out version of your 3D geometry. This lesson will explore Rhino 8’s a Shrinkwrap tool, which allows us to create watertight mesh geometries of any collection of objects.
When 3D printing, we typically want to export our 3D model as an STL file. This lesson will explore some of the settings to look out for when creating your exported 3D model.
What are the learning objectives for the course?
Understand the basic concepts of 3D Printing & additive manufacturing
Have an ability to evaluate a 3D object for 3D Printing